My preferred Git and pull request practices for keeping changes focused, reviewable, and automation-friendly.
Git is flexible enough that teams can make it work almost any way they want.
That is both the nice part and the dangerous part.
This is not meant to be a universal Git style guide. It is a record of the practices I tend to prefer when I want changes to stay small, reviewable, and easy to automate around.
The details matter less than the underlying goal: make it easier for teams to understand what changed, why it changed, and how it should move through review and release.
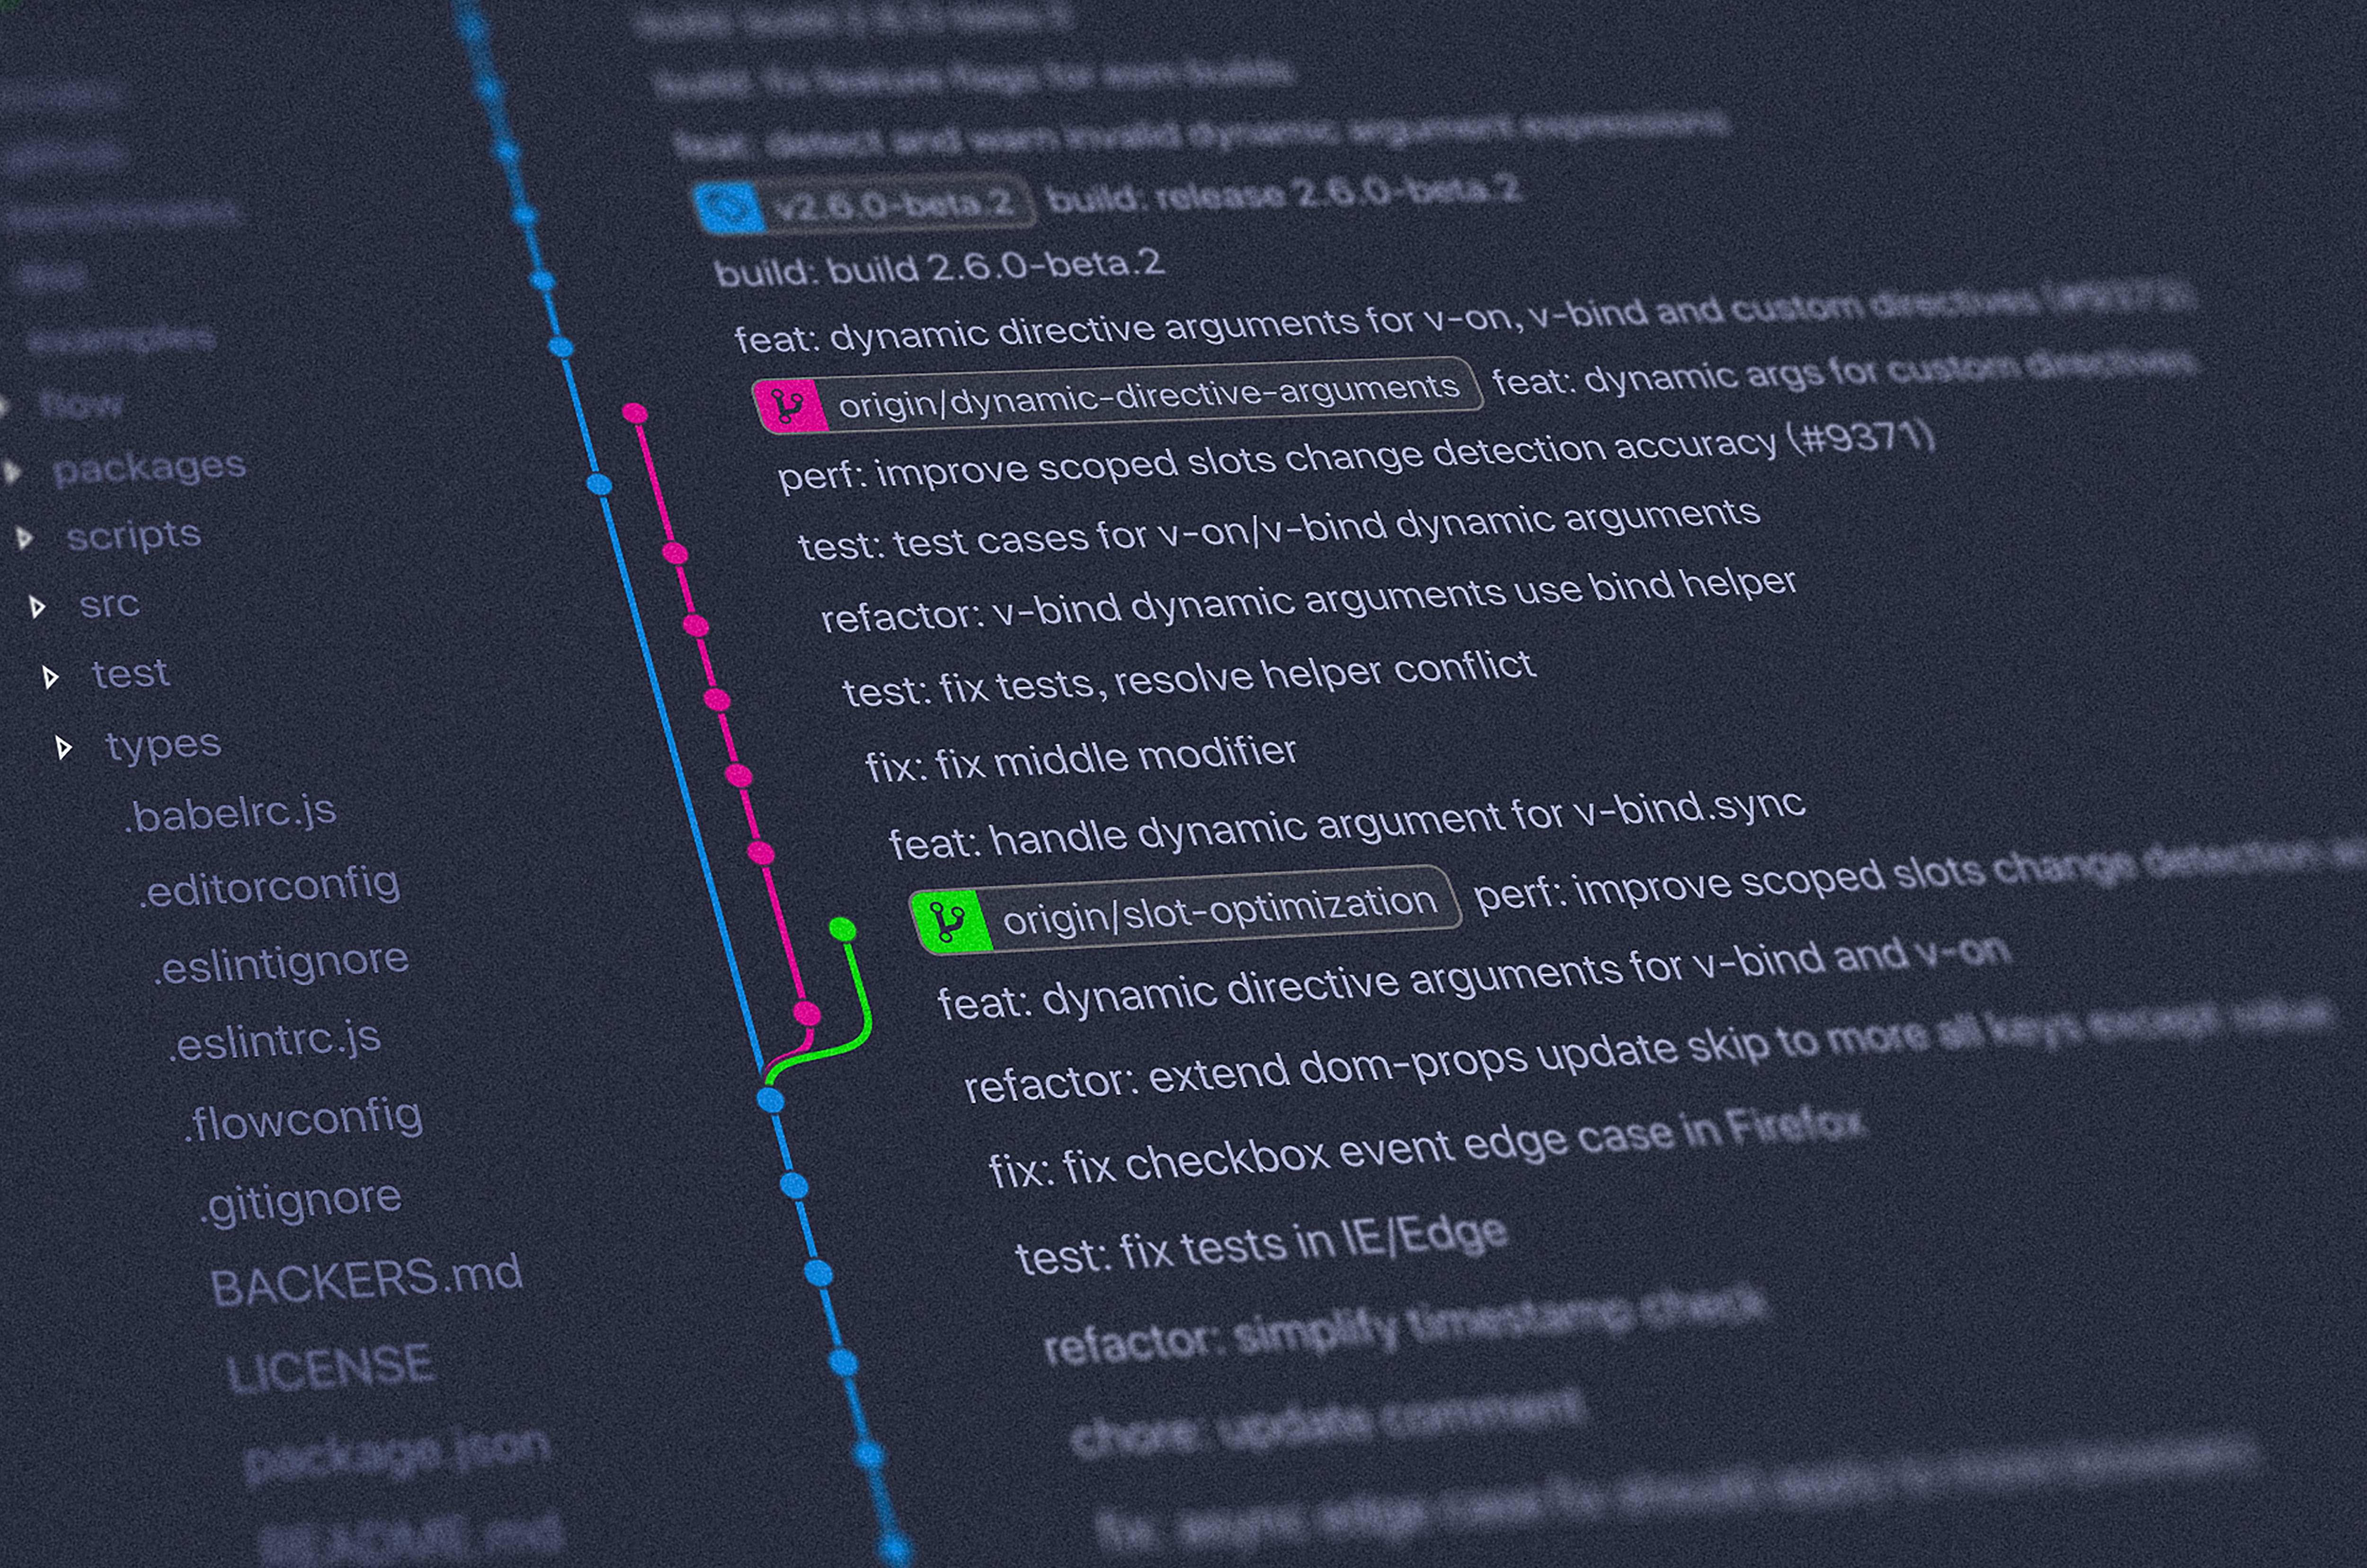
Branches
Branch naming
Development branches should use:
<type>/<name>
where <type> describes the kind of change being made.
I usually use:
- feature — A user-facing or customer-facing behavior change
- bug — A fix for something that is not working as intended
- dev — Maintenance work, dependency updates, or developer-facing environment changes
The <name> should be a short description of what is changing.
Examples:
feature/add-version-selector
bug/fix-navigation-state
dev/update-dependencies
For large projects, I like adding a username prefix:
althack/feature/add-version-selector
That makes it easier to find your own work without changing the rest of the naming convention.
Why branch prefixes are useful
Branch prefixes are not just decoration.
They make it easier to connect development workflow to automation. For example, a GitHub Action can label pull requests based on branch type, and those labels can feed changelog generation or release drafts.
They also help keep work focused. If a branch starts as bug/fix-navigation-state, it is a little more obvious when unrelated cleanup starts sneaking in.
Not impossible.
Just more obvious.
Branch name characters
I prefer branch names that are boring and predictable:
- Use lowercase letters.
- Use
-instead of_between words. - Use
/only to separate prefixes. - Avoid special characters.
Examples:
feature/new-feature
bug/fix-bug-123
upkeep/new-deps
althack/feature/new-feature
Avoid:
feature/new_feature
fix-bug-123
upkeep\NewDeps
Commit style
There are two commit styles I use most often.
The right choice depends on the team, the project, and how comfortable people are with Git.
One commit, many amends
This is the style I prefer when working with experienced Git users.
The idea is simple: one logical change gets one commit. As you keep working, you amend that commit instead of adding a long trail of intermediate commits.
This keeps the development branch close to the final history you want in main.
How it works
Make an initial commit:
git add .
git commit -m "Add version selector"
As you continue working, amend the commit:
git add .
git commit --amend
When you need to sync with main, rebase:
git fetch
git rebase origin/main
When pushing updates to the pull request, you will usually need to force push:
git push --force-with-lease
Use --force-with-lease instead of --force. It is still rewriting history, but it gives you a little more protection against overwriting someone else’s work.
Why I like it
- The branch history stays clean.
- The final commit is easier to cherry-pick, move, or revert.
- The development branch looks more like
main. - The log clearly shows the change you are trying to make.
Why I do not always use it
This style rewrites history.
That can be confusing or risky for teams that are newer to Git, people sharing branches, or contributors moving work across multiple computers.
It is a good workflow when the team understands the tradeoff.
It is not the workflow I would force on everyone.
Many commits, squash merge
This is the safer default for many teams.
In this style, developers commit freely while they work. The branch history can be messy because that history is mostly for the developer. When the pull request merges, GitHub squashes everything into one commit on main.
How it works
Commit whenever it is useful:
git add .
git commit -m "wip"
Sync with main using merge:
git fetch
git merge origin/main
When the pull request is ready, use squash merge.
The final commit message should come from the pull request title and description, not the intermediate wip commits.
Why I like it
- It is easier for newer Git users.
- It does not require force pushing during normal development.
- It makes it easier to share a branch across machines or with other people.
- It still keeps
mainclean because each pull request becomes one commit.
The tradeoff
The development branch can get noisy.
That is usually fine. The important thing is that the final history on main stays readable.
Pull request style
Pull requests should make review easier.
That sounds obvious, but it is surprisingly easy to forget.
A good pull request should answer three questions:
- What problem is being solved?
- Why is this a reasonable solution?
- What context does the reviewer need?
Pull request title
The title should be short, specific, and written in the imperative mood.
Use:
Add version selector to documentation site
Instead of:
Adding a version selector to documentation site
The title matters because it often becomes the commit message in main.
Pull request body
The body should explain the problem, the solution, and any context the reviewer needs.
A useful structure is:
Fixes #24

Documentation and package versions can currently get out of sync. This change publishes documentation with a version number matching the package release, so users can find the documentation that applies to their installed version.

Order of operations:
1. Developer makes changes
2. Version is bumped
3. Package is released
4. Documentation is uploaded to the versioned folder
5. Pointer to latest documentation is updated
The goal is not to write a novel.
The goal is to give the reviewer enough context to review the change without reverse-engineering your thinking from the diff.
Merge strategy
I usually prefer squash merge.
Squash merge combines all commits in a pull request into a single commit before adding it to main.
That gives you:
- one pull request
- one logical change
- one commit on
main
This works best when pull requests are small and focused.
Rebase merge
Rebase merge can also produce a clean linear history, but it keeps all commits from the pull request.
That can be useful when each commit is meaningful on its own. It can also be noisy when a pull request contains a lot of intermediate development commits.
I tend to prefer squash merge because it encourages smaller, more targeted pull requests.
The point
The point of all of this is not to make Git precious.
The point is to make change easier to understand.
Small branches, focused pull requests, useful descriptions, and clean merges help teams move faster because reviewers spend less time guessing what happened.
The best Git workflow is the one that makes good engineering behavior easier.
Related posts

VSCode Tasks Problem Matchers
If you use VSCode tasks, you’ll probably be familiar with the warning that’s reported in the command palette if you haven’t specified a “problem matcher” for your task.